Kanzi creates keyframe animations by gradually changing the value of the animated properties between keyframes. When creating a keyframe animation that changes the values of the Render Transformation property the attributes of which define the position and size of a node, you create movement keyframe animation. However, you can also create a keyframe animation that changes the values of any other Kanzi property, such as color.
In Kanzi you create keyframe animations in Animation Clip and Animation Data items. To create more complex animations, you can organize animations into Timeline Entry and Timeline Sequence items. See Animations.
In this step of the tutorial you create the keyframe animation and a trigger that starts the animation.
Assets for the tutorial
The starting point of this tutorial is the Keyframe animation.kzprojKanzi Studio project file stored in the <KanziWorkspace>/Tutorials/Keyframe animations/Assets directory.
The <KanziWorkspace>/Tutorials/Keyframe animations/Completed directory contains the completed project of this tutorial.
Create the animation
In this section you create the keyframe animation that bounces the BeachBall node on top of the Ground node.
To create the animation:
In Kanzi Studio open the project stored in <KanziWorkspace>/Tutorials/Keyframe animations/Assets. The project contains a BeachBallModel node and a GroundPlane node.
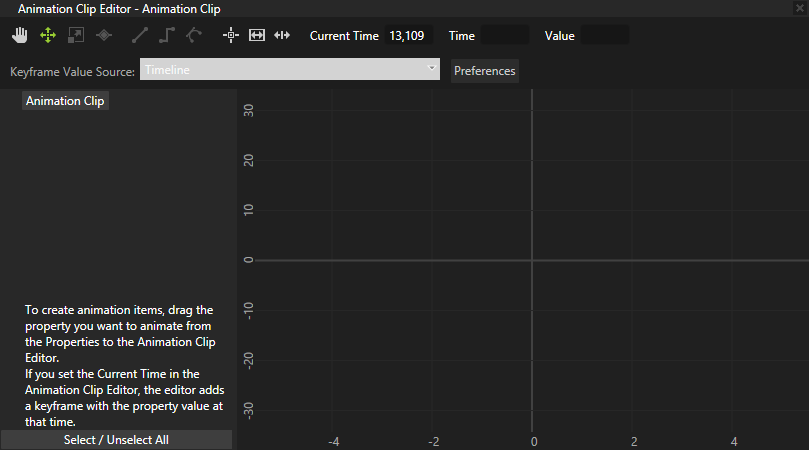
In the Library double-click Animations > Animation Clips > Animation Clip to open the Animation Clip in the Animation Clip Editor.
In the Animation Clip Editor set the Current Time to 0. By setting the Current Time you tell Kanzi Studio at what time in the application you want to create a keyframe.
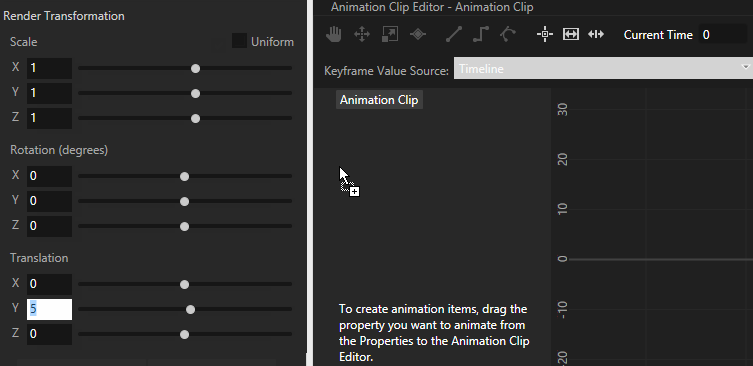
In the Project select the BeachBall node and create a keyframe by dragging and dropping the Render Transformation property from the Properties to the Animation Clip Editor. This keyframe sets the position of the BeachBall node at the beginning of the animation (the keyframe contains the values of the BeachBall node Render Transformation property attributes).
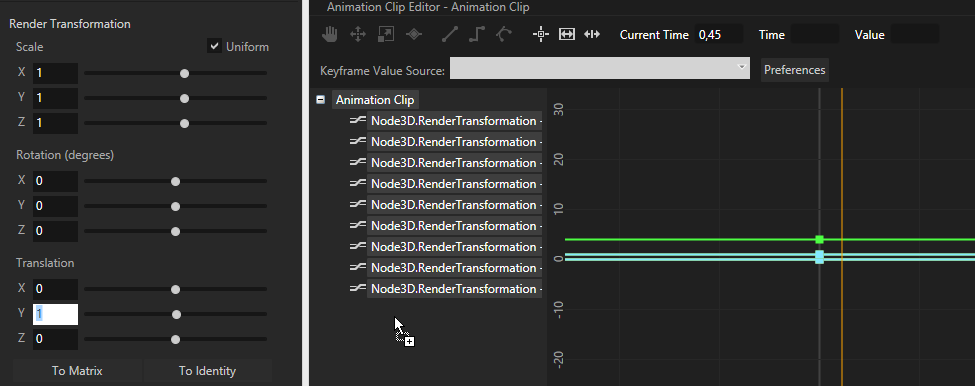
In the Animation Clip Editor set the Current Time to 0,45, in the Properties set the Render TransformationTranslation X property field to 1 to move the BeachBall node right on top of the Ground node, and create a keyframe by dragging and dropping the Render Transformation property from the Properties to the Animation Clip Editor. This keyframe sets the position of the BeachBall node as it hits the Ground node.
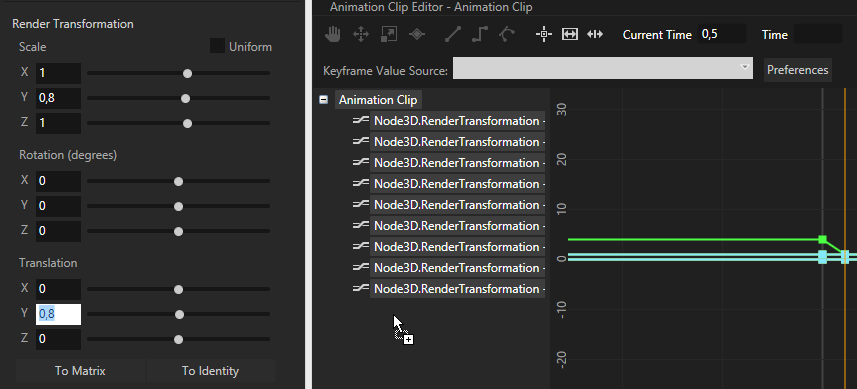
Set the Current Time to 0,5, scale the BeachBall node on the y axis and move it right on top of the Ground node, and create a keyframe. Make sure you disable the Uniform option for the Scale attribute and apply the scaling only on the y axis of the BeachBall node. This keyframe scales the BeachBall node on y axis (the ball squezees as it hits the ground), and positions it right on top of the Ground node.
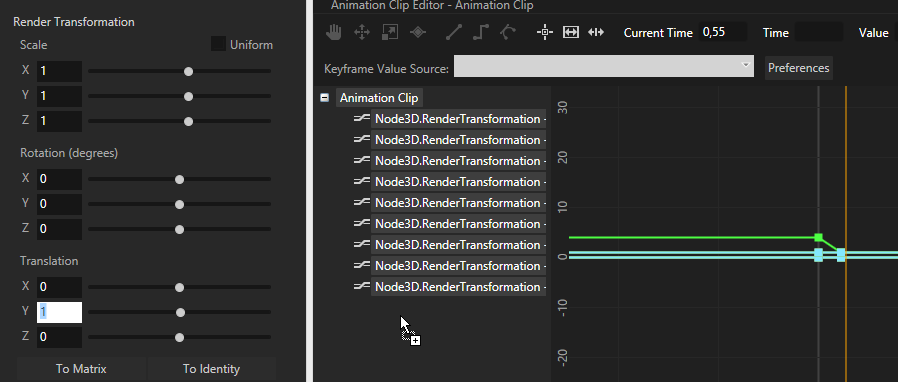
Set the Current Time to 0,55, return the scale of the BeachBall node to the state before it hit the Ground node, move it right on top of the Ground node, and create a keyframe. This keyframe returns the BeachBall node to its original size (the ball regains the shape as it bounces), and positions it right on top of the Ground node.
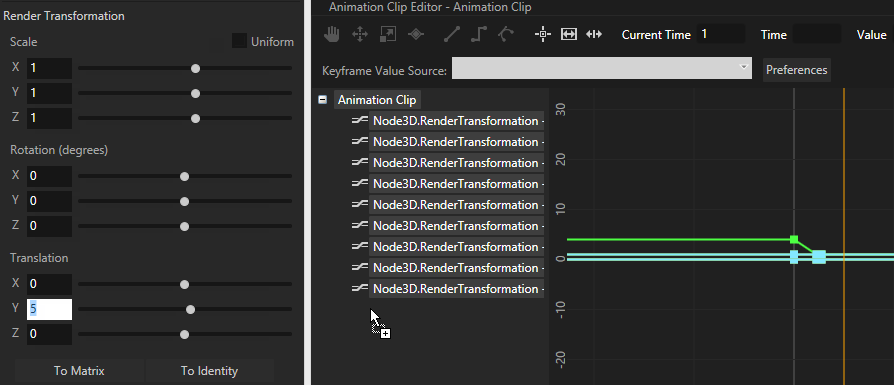
Set the Current Time to 1, move the BeachBall node to its starting position, and create a keyframe. This keyframe returns the BeachBall node to the position in which it was in the beginning of the animation.
Start the animation
In Kanzi Studio you can start an animation using any Kanzi trigger. In this tutorial you use the On Timer trigger that triggers its actions in time interval you set in the trigger.
To start the animation:
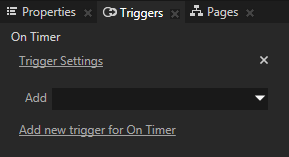
In the Project select the BeachBall node, in the Triggers click , and add the On Timer trigger.
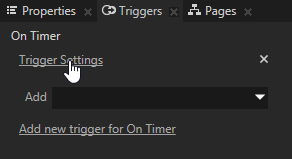
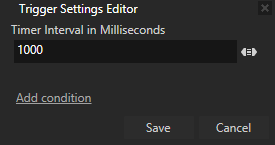
In the Triggers click Trigger Settings and set the Timer Interval (ms) to 1000. By setting the time interval to 1000 ms the trigger sets off the action you define in the next step every second.
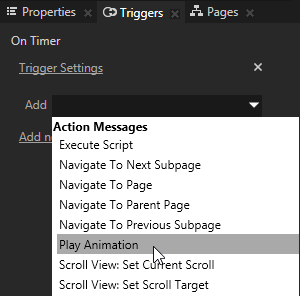
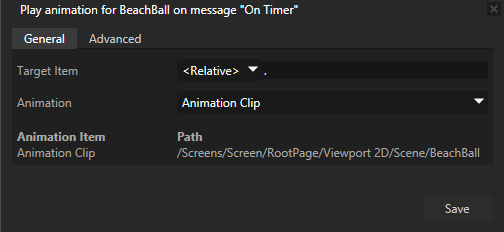
In the Triggers click the Add drop-down menu for the On Timer trigger and select Play Animation. Use the Play Animation animation to start an animation.
In the Argument Editor set:
Target Item to <Relative> and use . for the path to animate the node that has the trigger.
Animation to Animation Clip.
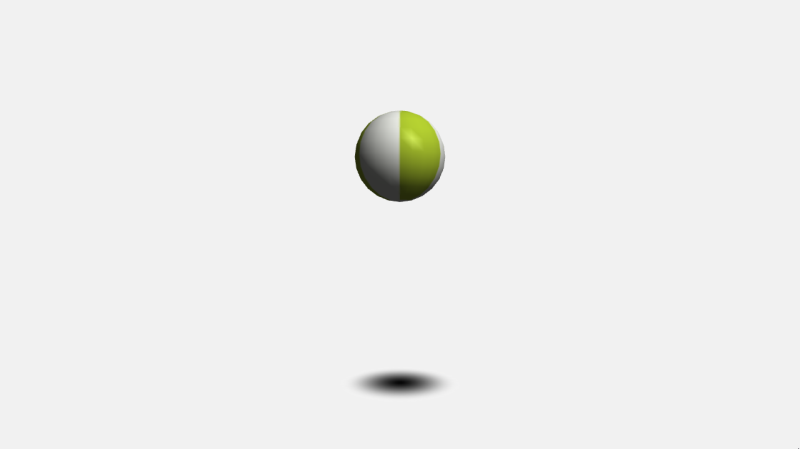
In the Preview you can see the BeachBall bouncing off the Ground. In the next step you fine-tune the animation and make the shadow react to the position of the BeachBall.

 , and add the